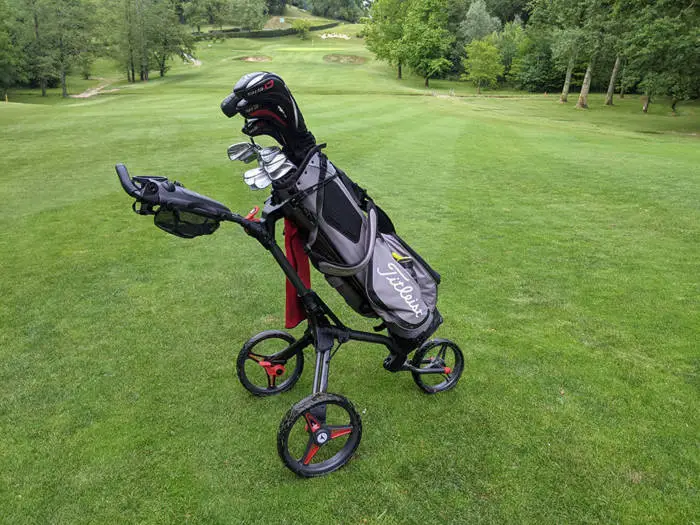
How to clean a golf trolley
Golf trolleys can be expensive pieces of kit, so it’s in your best interest to look after them. A well looked after golf trolley can last years and years, whilst a neglected golf trolley will mean you’ll have to fork out more cash on repairs or even replacements.
If you’ve spent a few hundred quid on a golf trolley, you’ll also want it to look good on the course and that’s where good maintenance and cleaning comes in.

Golf trolley manufactures will recommend that you wipe down your golf trolley after each use, but we know that’s not really realistic. However, a good clean every once in a while (particularly in winter when the golf courses are muddier) will help keep your trolley looking good and performing on the course.
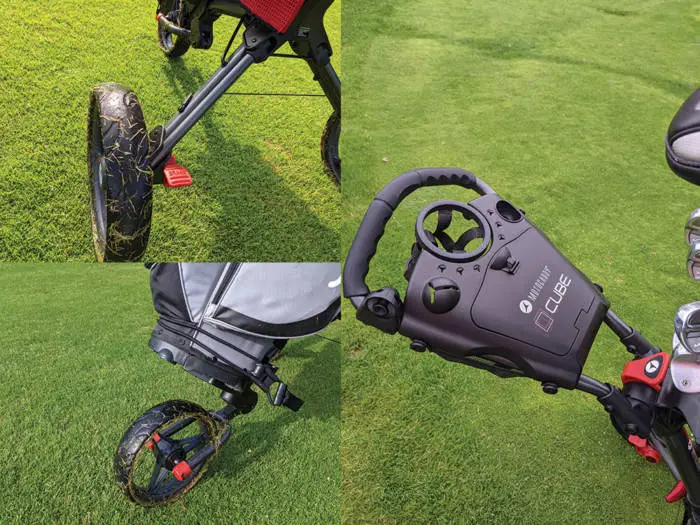
It’s particularly important to pay regular attention to the axle and inside rear wheels where the biggest build up of dirt can happen. Regularly removing the dirt and sand from these areas will help prevent wear and tear over time.
Below we’ll take you through step by step on how best to clean your golf trolley
Step by step guide to cleaning your golf trolley
In order to clean your golf trolley properly, you’ll only require the following:
- Bucket of lukewarm water
- All purpose cleaner
- Sponge
- Towel or drying cloth
- Soft bristle brush
- Towel
Now, whilst it may be tempting to grab the pressure washer – don’t. Golf trolleys are built to withstand the elements on the golf course, but they are not built to withstand the increased intensity from a pressure washer.
This is particularly true for electric golf trolleys where the water from a pressure washer can get into the gearbox or electronics and cause long term damage. It will also void any warranty that you have on the trolley, so it’s really not worth the risk.
Once you’ve put the jet washer back in the garage, follow the simple steps below:
- If the trolley has quick release wheels, remove the wheels and place to one side so they can be washed separately
- Place the golf trolley on a sturdy flat surface and be careful not to apply pressure on the axle
- Spray the all purpose cleaner onto the golf trolley frame or if it’s a concentrate cleaner, mix it in with the bucket of lukewarm water
- Wipe the trolleys main frame with the with the lukewarm water and sponge focussing on removing any dirt or sand
- Next, focus on the harder to reach bits of the trolley including the axle and battery tray (if an electric trolley). Most battery trays of electric golf trolleys will have a draining hole, so ensure this is not blocked
- Use the soft bristle brush and lukewarm water for any areas where the dirt is hardened or difficult to remove
- Finally wash the wheels separately ensuring all the dirt and sand is removed
- Dry the frame and the wheels with the towel or drying cloth before putting back together
- Leave the trolley unfolded and open in a covered area to fully dry before folding down and storing away
Once you’ve cleaned your golf trolley, it’s worth doing a quick routine check on a couple of other things before storing it away:
Nuts and bolts – It’s best to check the nuts, bolts and screws of electric golf trolleys every once and a while, so it makes sense to make this part of your cleaning routine. Check that none of them have come loose, and tighten any that have.

Wiring and connections – If you’re using an electric golf trolley, visually check any wiring and or connections after cleaning the trolley. Any sign of damage to cabling or connections could lead to a serious fault down the line with your trolley, so make sure again that there are no loose parts. If there are, contact your local golf trolley repair service.
Once you’ve cleaned the trolley and done your checks you should be good to go!
If you’re in the market for a new golf trolley, check out our posts on the best electric golf trolleys and best push golf trolleys to help you decide which is the best option for you.